
In established neighbourhoods like Glen Abbey and Iroquois Ridge, homes tend to be larger detached properties with full-size or French-door refrigerators. Many of these units are 10 to 15 years old, which puts them in the range where compressor and fan motor issues start to appear with more frequency.
In older parts of Oakville — particularly near Old Oakville and Kerr Village — kitchens are often smaller and the appliance configurations less standardized. Fridges in these homes sometimes sit in tighter spaces next to older cabinetry, which means access for rear servicing requires more care and sometimes a second set of hands.
Bronte is a mixed area with both older character homes and newer builds close to the harbour. In the older homes near Bronte Road, we often see appliances that have been in place for many years and are developing multiple minor issues simultaneously — a useful signal that a repair-versus-replace conversation is worth having.
Home Maintenance Services in Oakville | Handyman Oakville Ontario
Newer developments in Palermo, Clearview, and the Uptown Core tend to have appliances that are still under manufacturer warranty or relatively new. In these areas, fridge repair calls often involve water dispenser faults, ice maker issues, or early-stage door seal wear — problems that are well worth fixing given the age of the appliance.
For Burlington homeowners just over the Oakville border near Burloak Drive, the same practical approach applies. A local Halton Region technician who's familiar with residential appliances across both municipalities is often the most responsive and practical option.
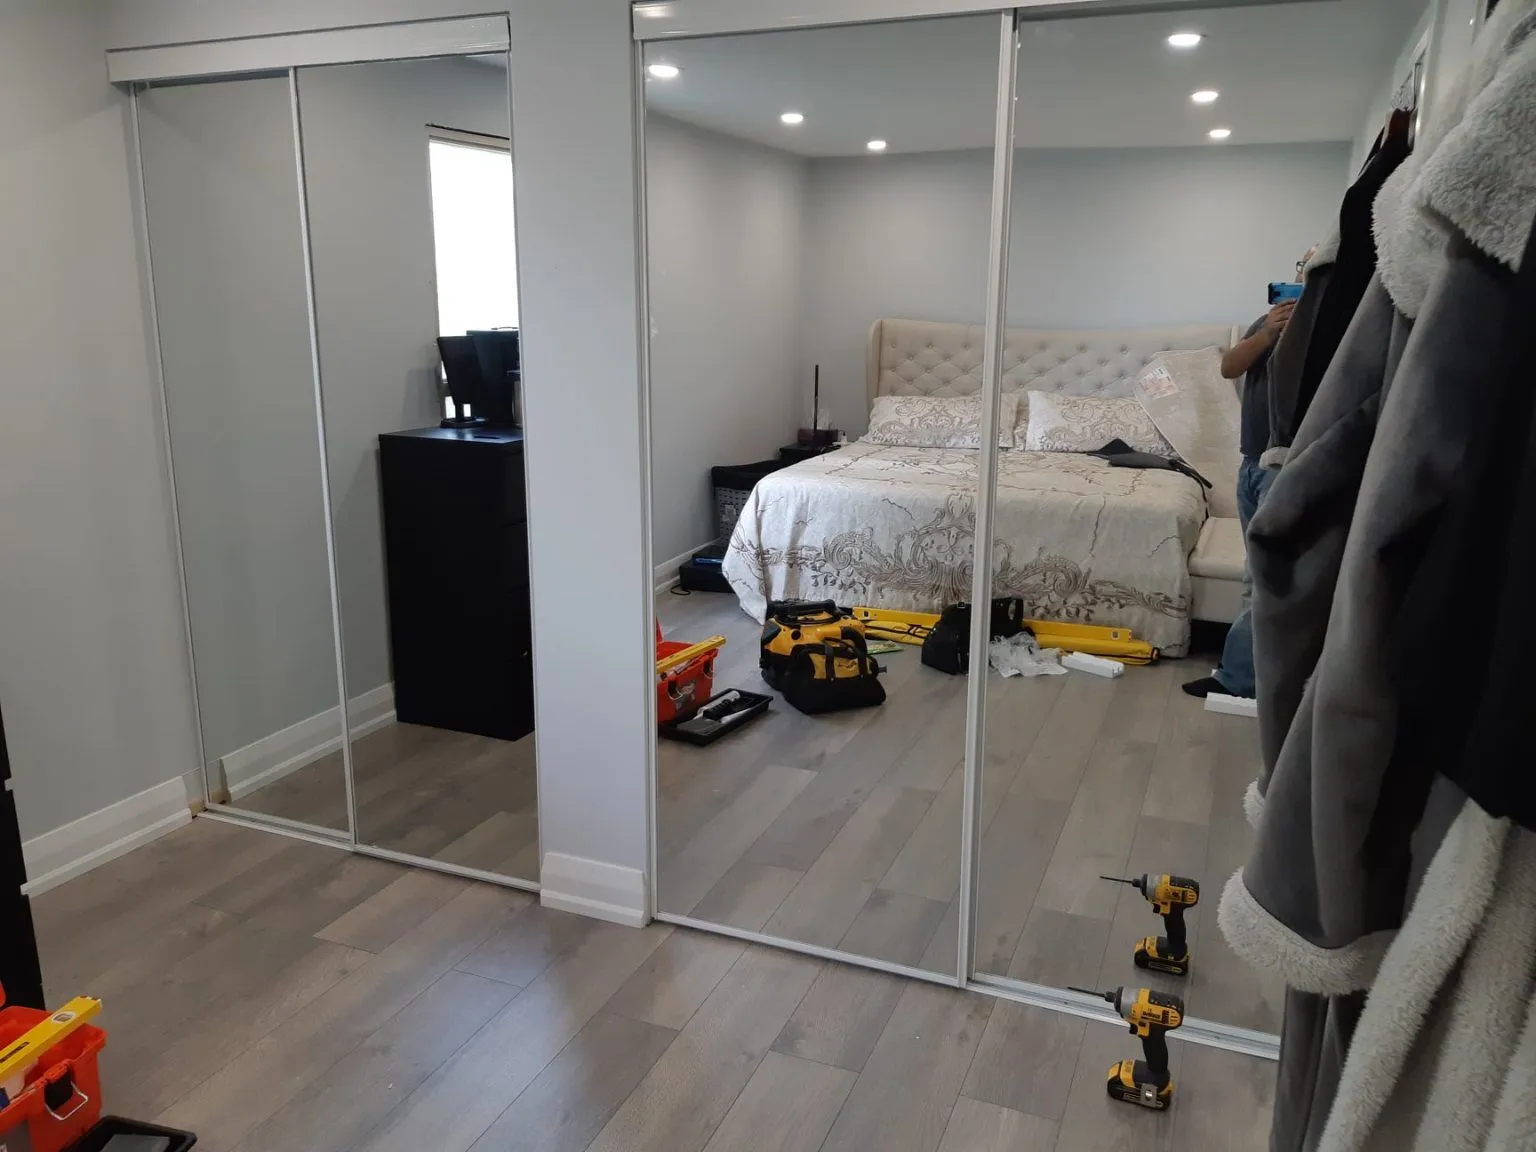
Getting a television mounted on the wall sounds like a straightforward weekend project — until you realize the wall behind your preferred spot is all drywall, the studs are not where you expected, and the bracket you bought does not quite match the VESA pattern on the back of the TV. This is the point where many Mississauga homeowners step back, look at the mounting hardware on the floor, and decide it is worth calling someone who does this regularly. TV mounting service Mississauga homeowners rely on tends to be faster, cleaner, and safer than most DIY attempts — not because the job is impossible to learn, but because experience with wall types, stud patterns, and cable routing makes a noticeable difference in the final result.
Mississauga is a city with an enormous variety of housing. From high-rise condos in the City Centre to older brick bungalows near Port Credit, from new-build townhomes along Confederation Parkway to detached homes in the Meadowvale and Erin Mills areas — each property type presents its own wall conditions and mounting challenges. What works cleanly in a concrete condo wall requires a completely different approach than a stud-and-drywall installation in a 1990s detached home.
Handyman Oakville Ontario serves homeowners across Mississauga and the surrounding region, handling TV mounting installations as part of a broader range of residential repair and installation services. Whether it is a single bedroom mount or a full media wall setup in an open-concept living room, the work is done with the right tools, careful measurement, and attention to how the room will actually be used.
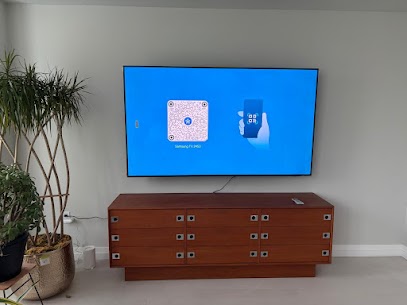
A television mounted at the wrong height is one of the most common results of a hurried installation. Many people anchor a bracket wherever the studs happen to land, then realize the screen is either too high for comfortable viewing from a couch or too low when seated on a specific piece of furniture. Proper mount height is calculated based on the viewing distance, the screen size, and where people actually sit — not where it is most convenient to drill.
The difference between a mount that is level and one that is off by two degrees is invisible on the bracket, but immediately obvious once the TV is hung. Even a slight tilt can make a large screen feel awkward in a room. Getting this right requires a reliable level and the patience to check measurements more than once before committing to a drill hole.
Cable management is where many DIY installations fall short. Cables hanging loose below a wall-mounted TV are one of the first things people notice when they walk into a room. Routing cables cleanly behind the wall — using an in-wall cable management kit or a surface-mounted raceway — transforms the look of a living room or bedroom in a way that is hard to overstate. It is one of those finishing details that separates a professional installation from one that was just technically functional.
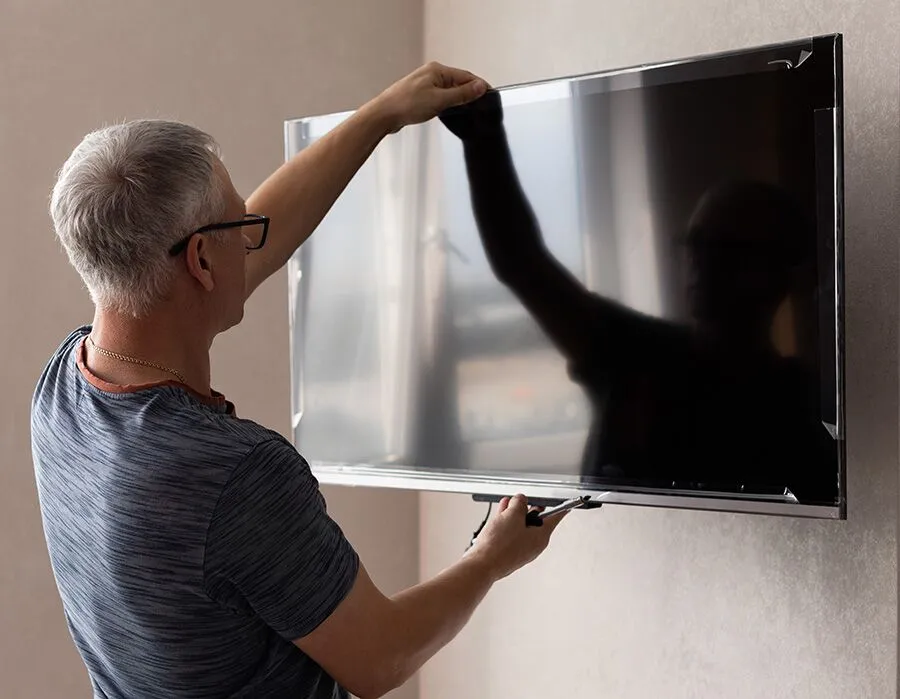
Wall anchor selection matters more than most homeowners realize. Mounting a 65-inch or larger television into drywall with the wrong anchors is a safety risk. The TV needs to be anchored into wall studs, and where studs are not available at the exact mounting position, the right solution depends on the wall type — concrete, drywall over wood framing, or drywall over metal framing — and the weight of the screen.
Many Mississauga condos, particularly newer high-rise units, have concrete or masonry walls rather than wood-framed drywall. Mounting into concrete requires different drill bits, specific concrete anchors, and a hammer drill — tools that most homeowners do not have on hand. Trying to use standard drywall anchors in a concrete wall simply does not work and can damage the wall surface without providing any real hold.
The whole point of mounting a TV on the wall is to improve how the room looks and functions. A mount that is at the wrong height, slightly crooked, or leaving cables exposed does not accomplish that goal. Getting the details right is what makes the installation worthwhile.
The stud layout in a wall does not always cooperate with where the TV needs to go. In a living room where the only logical mounting wall has a window on one side and a doorway on the other, the available stud locations can be frustratingly narrow. This is where experience matters — knowing how to use a combination of stud mounting and properly rated wall anchors to distribute the load appropriately is not something most homeowners have worked through before.
Older homes near the Lakeview and Cooksville areas of Mississauga sometimes have walls that were built with irregular stud spacing, non-standard framing, or materials that behave differently from modern construction. In houses built in the 1960s and 1970s, it is not unusual to encounter plaster walls rather than drywall, which requires a completely different approach to anchoring and a more careful drilling technique to avoid cracking.
VESA compatibility is a source of confusion for many homeowners buying a mounting bracket independently. VESA is the standardized hole pattern on the back of TVs used to attach brackets, and there are multiple standard sizes. Purchasing a bracket before confirming the VESA pattern on your specific TV model can mean the hardware does not fit — a frustrating and avoidable problem.
Articulating or full-motion mounts add a layer of complexity that fixed mounts do not have. A mount that swings out, tilts, and rotates needs to be secured with more robust anchoring than a flat mount, because the leverage arm created when the TV is extended puts additional stress on the wall connection. Getting this right requires calculating the correct load, not just finding the nearest studs.
Cable management inside the wall is another common stumbling point. Running cables behind drywall requires cutting access holes in the right locations, using a fish tape or flexible drill bit to navigate through the wall cavity, and knowing how to patch the access points cleanly afterward. In condos and apartments, this kind of work may also need to account for the location of in-wall electrical wiring to avoid conflicts.
Many homeowners also underestimate how long a professional-looking TV installation actually takes. Between planning the mount location, finding studs, confirming measurements, setting the bracket level, mounting the TV, routing the cables, and testing the final position, a thorough installation with cable management is typically a two-to-three hour job — not the thirty-minute project it might appear to be on a video tutorial.
Mounting a small to mid-size TV on a standard drywall wall, where the studs are easy to locate and the mounting position is flexible, is a reasonable DIY project for someone with basic tools and a comfortable understanding of how wall anchors work. A stud finder, a drill, a level, and the right mounting hardware are the minimum requirements, and the job is manageable in a couple of hours.
The calculation changes when the wall is concrete, when the TV is large and heavy, when the mounting position is constrained, or when cable management behind the wall is part of the plan. Each of these conditions adds complexity that requires either specific tools or the experience to make good decisions when something unexpected comes up.
Articulating mounts on large screens are a category where professional installation is almost always the better choice. A 75-inch television on a full-motion bracket creates significant leverage stress on the wall connection when the mount is extended. An under-anchored installation is not just unsightly if it fails — it is dangerous. Many homeowners prefer to work with experienced professionals for exactly this reason, particularly when children or frequent foot traffic are part of the household.
Concrete walls in Mississauga condos are the clearest case for professional help. Hammer drilling into concrete requires the right bit type, correct anchor selection for the wall depth, and the judgment to know when the wall condition requires a different approach. Using the wrong anchor in concrete can leave a hole that does not grip, requiring repair work before a new attempt.
Honest DIY advice: if you have a single, standard mount on a drywall wall with accessible studs, a mid-size TV, and no cable management behind the wall, you can likely do this yourself with a stud finder and a few hours. If any of those conditions are not met — especially the concrete wall, the large screen, or the in-wall cable work — professional help will save you time, frustration, and the cost of fixing a poorly done installation.
The finishing details are also worth considering. A professional installation is more likely to result in a TV that is perfectly level, mounted at the correct height for your specific seating arrangement, with cables either hidden behind the wall or managed cleanly with a matching raceway. These details collectively determine whether the installation looks like it belongs in the room or looks like it was done in a hurry.
A stud finder is the most important tool for any drywall TV mount installation, and the quality of the stud finder matters. Basic magnetic stud finders can locate the screws in drywall rather than the studs directly, leading to imprecise placement. An electronic stud finder that reads density changes in the wall is significantly more reliable and reduces the chance of a bracket that lands between studs.
A drill with the right bit for the wall material is essential. For wood-framed drywall, standard wood screws driven into studs are the correct fastener. For metal-framed walls, which appear frequently in condo buildings, self-tapping metal screws are required. For concrete or masonry, a hammer drill with a masonry bit and concrete sleeve anchors or wedge anchors are the correct combination.
A quality level is non-negotiable. Even a small deviation from level becomes visible once the TV is on the bracket, particularly with larger screens. A four-foot spirit level or a digital level that provides a precise reading is preferable to a short torpedo level for this type of installation.
Mounting brackets vary considerably in quality, weight rating, and design. A bracket rated for 100 pounds on a 55-inch TV is not the right choice for a 75-inch screen that weighs 85 pounds — not because it cannot hold the weight alone, but because the safety margin disappears entirely. Using a bracket with a weight rating at least 50% above the actual TV weight is a practical standard.
For in-wall cable management, the additional materials needed include an in-wall cable management kit with recessed wall plates, a fish tape or flexible drill bit for navigating the wall cavity, and drywall repair materials for patching access holes cleanly after the cables are routed. This is separate from surface-mounted cable raceways, which are a simpler alternative that does not require cutting into the wall.
A measuring tape and pencil for marking stud locations, the VESA bolt locations, and the final bracket position round out the basic tool set. The measuring step is where most mistakes originate — measuring once and drilling, rather than measuring twice, confirming level, and then drilling. Taking an extra five minutes at the measurement stage reliably saves thirty minutes of correction afterward.
Condos in Mississauga's City Centre, Cooksville, and Port Credit areas represent a significant portion of the local housing market, and TV mounting in high-rise units comes with specific considerations that do not apply in detached homes. The most important of these is wall material. Most exterior and demising walls in concrete high-rise buildings are masonry or poured concrete — not wood-frame drywall — and mounting into them requires a completely different approach.
Concrete anchor selection for a TV mount depends on the specific wall material and the weight of the screen. Sleeve anchors, wedge anchors, and concrete screws are the common options, each with different load ratings and installation requirements. Getting this wrong in a concrete wall means either a mount that does not hold properly or a damaged wall that needs to be patched before a second attempt.
Interior partition walls in condos are more often metal-frame drywall construction, which is softer than concrete but still different from wood-frame residential walls. Metal studs are narrower than wood studs, require different fasteners, and provide less holding strength per anchor point. For a heavy TV on a full-motion mount on a metal-stud wall, the anchoring strategy needs to account for this limitation.
Condo buildings also have rules about in-wall work. Cutting into walls to route cables may require approval in some buildings, particularly if there are concerns about fire-rated wall assemblies. Surface-mounted cable management — using a clean, paintable raceway that sits on the wall surface rather than inside it — is often the preferred approach in condos for exactly this reason.
Elevator booking, floor protection during tool use, and working within noise restriction hours are practical considerations for any installation work in a high-rise building. Coordinating a visit that respects the building's operational requirements means planning the booking carefully — something a local service provider familiar with the Mississauga condo landscape is equipped to handle.
For townhome owners in developments along areas like Hurontario Street or near the QEW, wall conditions tend to be more similar to standard residential framing, but party walls between units may have additional layers of drywall for sound attenuation. Mounting into a party wall requires confirming what is behind the surface before drilling, since additional drywall layers change the depth calculation for anchors.
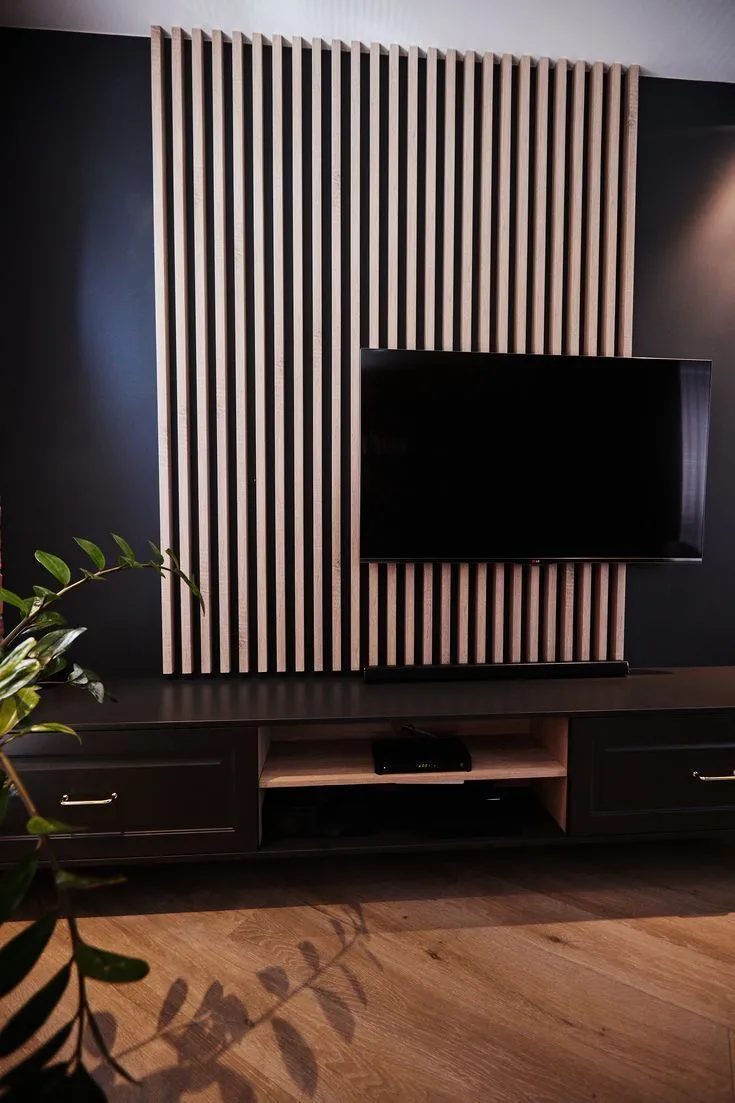
A single wall mount is often the starting point of a larger conversation about how a living room is set up. Many homeowners who call about TV mounting end up discussing whether a full media wall or TV wall unit installation makes more sense for their space. A media wall that incorporates the television, surrounding shelving, and integrated cable management creates a cohesive look that a standalone mount on a bare wall cannot achieve.
TV wall unit installation involves building or installing cabinetry and shelving around the mounted television, often using modular units that can be configured to the room's specific dimensions. In open-concept living rooms — a common layout in Mississauga townhomes and newer builds — a media wall also serves as a visual anchor for the space, defining the seating area without requiring physical walls to do so.
Cable management becomes significantly more involved in a media wall setup, because the television, sound system, gaming consoles, and streaming devices all need power and data connections that ideally remain hidden. Planning where each component will sit, where power outlets are located, and how the cables will route between units is part of the installation planning process.
For homeowners who want a home theatre feel in a basement or dedicated media room, the installation scope expands further to include projector mounting, screen installation, surround sound speaker placement and anchoring, and equipment rack setup. Each of these is a separate technical task, but they are all related to the same goal of creating a functional and organized entertainment space.
In living rooms where the television and media setup is the focal point of the room, the installation quality is directly visible every day. Getting it right — the height, the level, the cable management, the surrounding arrangement — is worth the extra effort and the right professional help where needed.
If you have had a new television sitting in its box for more than a week because the wall mounting feels like too big a project to start, that is a clear signal to book help. The longer a new TV sits uninstalled, the more it becomes background furniture rather than the upgrade it was purchased to be.
Moving into a new home or a newly rented unit in Mississauga is a natural trigger for wall mount installations. The first few weeks after a move are when most people want to get the living space set up, and TV mounting is typically high on that list. Getting it done early — before the room is fully arranged and before other things take priority — is the most efficient approach.
Explore our latest resources, guides, and helpful information.